19c Oracle Database ASM Installation
Installing and Creating an oracle Database 19c on Red Hat Enterprise Linux Server release 7 with ASM
Pre-Installation
Tasks
Download the oracle 19c software for
oracle e-delivery
Download
the software from http://edelivery.oracle.com.
It comes in zip format.
Install the required RPM in Linux
server
yum
-y install oracle-database-ee-19c
yum
install oracle*
yum
install oracle* --skip-broken
Edit the /etc/hosts file and add the
hostname and the IP address to it.
[root@oraclelab1
~]# cat /etc/hosts
127.0.0.1 localhost localhost.localdomain localhost4
localhost4.localdomain4
::1 localhost localhost.localdomain
localhost6 localhost6.localdomain6
192.168.1.10
oraclelab1.localdomain.com oraclelab1
[root@oraclelab1
~]#
OS Users and group creation
#groupadd
oinstall
#groupadd
dba
#groupadd
oper
#useradd
oracle
#useradd
-g oinstall -G oinstall,dba,oper oracle
#passwd
oracle (give the password for oracle)
Directory Creation
#mkdir
-p /u01/app/oracle
#mkdir
-p /u01/app/oraInventory
#chown
-R oracle:oinstall /u01/app/oracle
#chown
-R oracle:oinstall /u01/app/oraInventory
#chmod
-R 775 /u01/app
Grid
/ASM Installation
$su - oracle
$mkdir
-p /u01/app/19.0.0.0/grid
$cd
/u01/app/19.0.0.0/grid
./gridSetup.sh
Oracle
Home Installation - runInstaller
$su - oracle
$mkdir
-p /u01/app/oracle/product/19.0.0.0/dbhome_1
$mkdir
-p /u01/patches/
$cd /u01/app/oracle/product/19.0.0.0/dbhome_1
$./runInstaller
Create oracle ASM DISK on linux
I
created 3 shared disks in my VM Box
DISK1
-3G
DISK2
-20G
DISK3
-10G

List Disk
[root@oraclelab1
dev]# ll sd*
brw-rw----
1 root disk 8, 0 Aug 6 10:28 sda
brw-rw----
1 root disk 8, 1 Aug 6 10:28 sda1
brw-rw----
1 root disk 8, 2 Aug 6 10:28 sda2
brw-rw----
1 root disk 8, 16 Aug 6 10:47 sdb
brw-rw----
1 root disk 8, 17 Aug 6 10:47 sdb1
Oracle ASM Configuration

Create Shared disk
[root@oraclelab1
dev]# oracleasm createdisk ASM_DISK1 /dev/sdb1
Writing
disk header: done
Instantiating
disk: done
[root@oraclelab1
dev]#
[root@oraclelab1
disks]# oracleasm createdisk ASM_DISK2 /dev/sdc1
Writing
disk header: done
Instantiating
disk: done
[root@oraclelab1
disks]# oracleasm createdisk ASM_DISK3 /dev/sdd1
Writing
disk header: done
Instantiating
disk: done
Default
disk group location: /dev/oracleasm/disks/
[oracle@oraclelab1
disks]$ pwd
/dev/oracleasm/disks
[oracle@oraclelab1
disks]$ ll
total
0
brw-rw----
1 oracle oinstall 8, 17 Aug 20 13:26 ASM_DISK1
brw-rw----
1 oracle oinstall 8, 33 Aug 20 12:41
ASM_DISK2
brw-rw----
1 oracle oinstall 8, 49 Aug 20 12:41
ASM_DISK3
[oracle@oraclelab1
disks]$ oracleasm listdisks
ASM_DISK1
ASM_DISK2
ASM_DISK3
Grid installation
Installing the oracle grid infrastructure for standalone server.
[oracle@oraclelab1
grid]$ pwd
/u01/app/19.0.0.0/grid
[oracle@oraclelab1
grid]$ ./gridSetup.sh
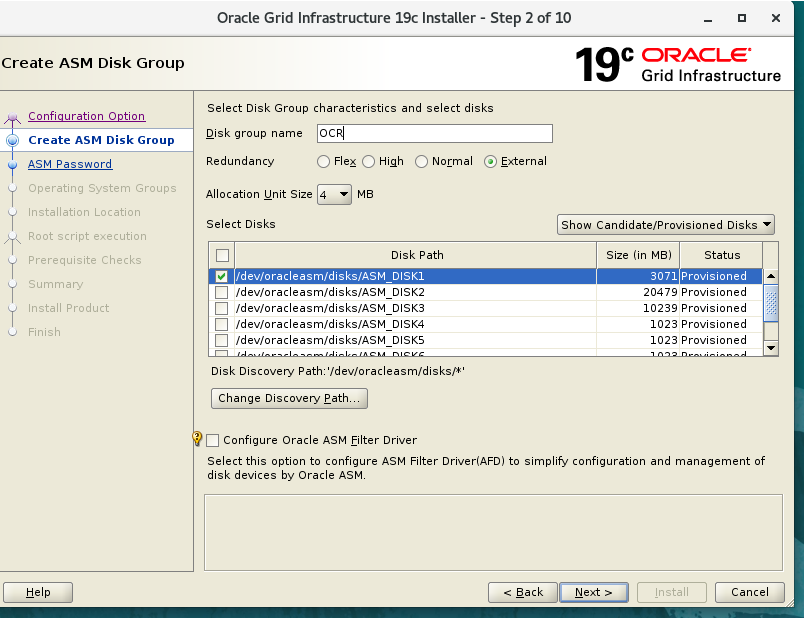
Configuration
page

Create
ASM Disk group
Map
the ASM OS level Disk group location here


Password:
Welcome#2022


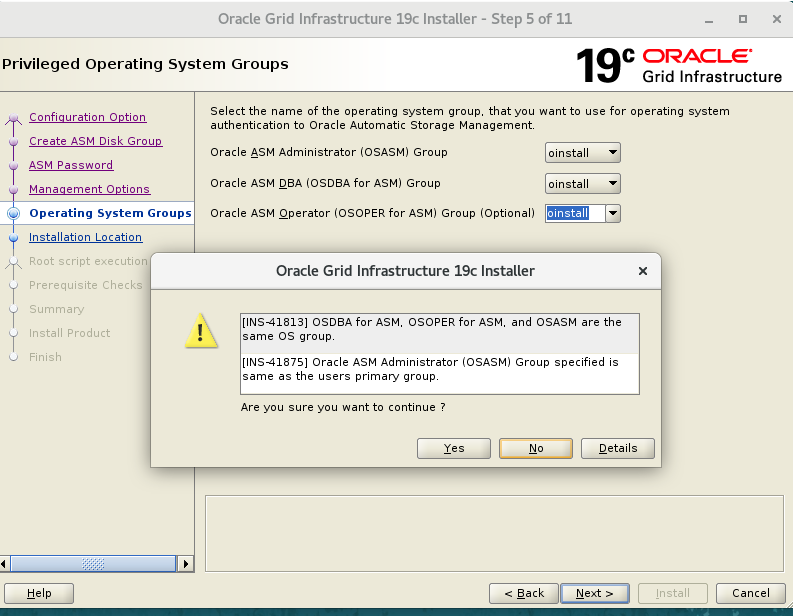
Mapping the OS groups
Oracle Home and grid home
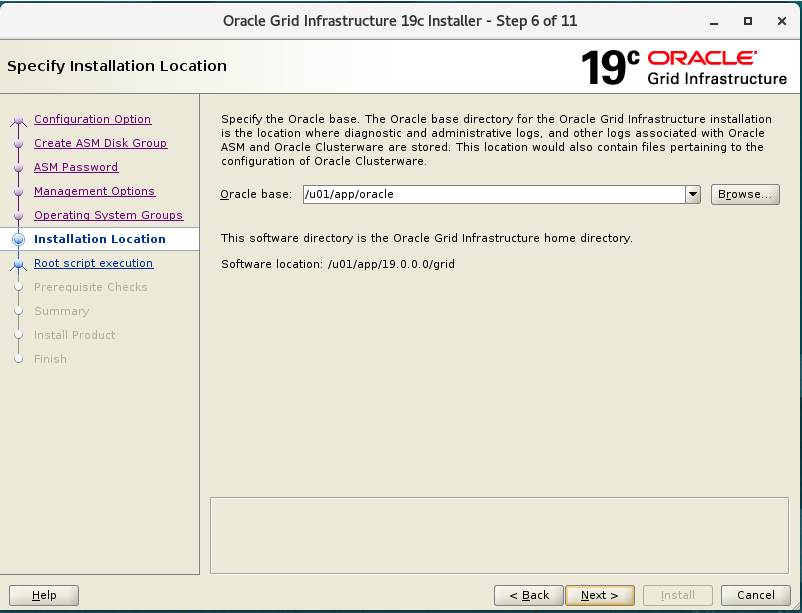
Map the oraInventry location


Per request check

Summary Page

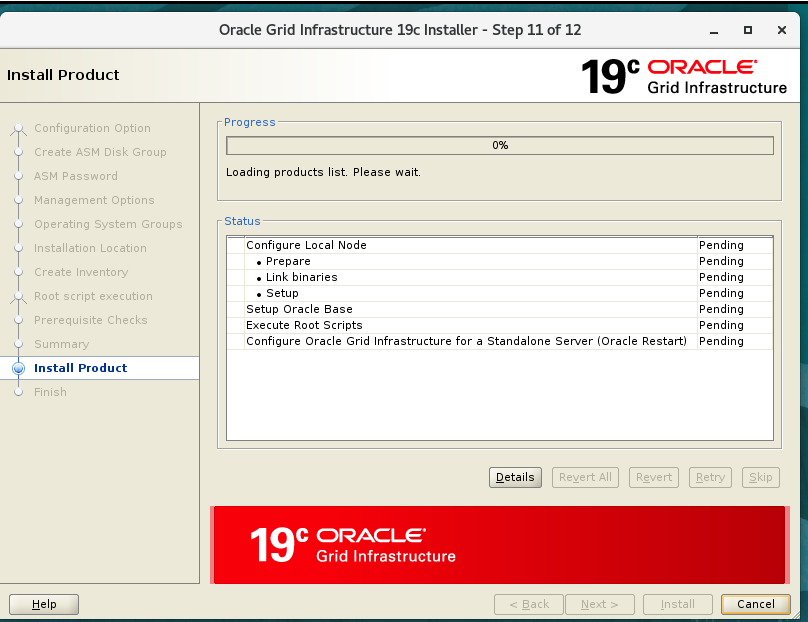
Executing the root configuration scripts

Finishing Installation

Reference:
-
Oracle Home Installation
Unzip
the DB binary
[root@oraclelab1
sf_Software]# unzip V982063-01.zip -d
/u01/app/oracle/product/19.0.0.0/dbhome_1/
$su – oracle
$cd /u01/app/oracle/product/19.0.0.0/dbhome_1
$./runInstaller

Choosing the Installation option

Choosing the database editions

Specifying Installation Location

Choosing OS Groups

Root Script execution and configuration

Per-roquets checks

Summary Page


Executing Root Configuration Scripts

[root@oraclelab1
~]# /u01/app/oracle/product/19.0.0.0/dbhome_1/root.sh
Performing
root user operation.
The
following environment variables are set as:
ORACLE_OWNER= oracle
ORACLE_HOME= /u01/app/oracle/product/19.0.0.0/dbhome_1
Enter
the full pathname of the local bin directory: [/usr/local/bin]:
The
contents of "dbhome" have not changed. No need to overwrite.
The
contents of "oraenv" have not changed. No need to overwrite.
The
contents of "coraenv" have not changed. No need to overwrite.
Entries
will be added to the /etc/oratab file as needed by
Database
Configuration Assistant when a database is created
Finished
running generic part of root script.
Now
product-specific root actions will be performed.
Oracle
Trace File Analyzer (TFA - Standalone Mode) is available at :
/u01/app/oracle/product/19.0.0.0/dbhome_1/bin/tfactl
Note
:
1.
tfactl will use TFA Service if that service is running and user has been
granted access
2.
tfactl will configure TFA Standalone Mode only if user has no access to TFA
Service or TFA is not installed
[root@oraclelab1
~]#
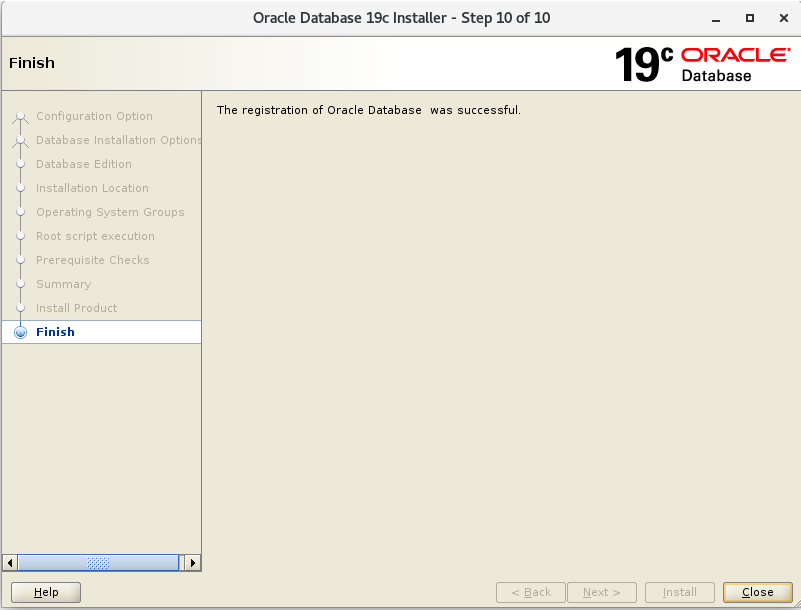
Finishing
Installation
Creating ASM Disk Group:
I
am using (ASM Configuration assist) asmca and creating two disk group
Disk
Group name :DATA,RECO
[oracle@oraclelab1
~]$ cd /u01/app/19.0.0.0/grid/bin/
[oracle@oraclelab1
bin]$ ls -ltr asmca
-rwxr-x---
1 root oinstall 7912 Aug 7 13:41 asmca
[oracle@oraclelab1
bin]$ ./asmca


Configuring
Data RECO disk group
Enter
the Disk group name
Disk
group Name: DATA


Disk group created

Database Creation
[oracle@oraclelab1
bin]$ pwd
/u01/app/oracle/product/19.0.0.0/dbhome_1/bin
[oracle@oraclelab1 bin]$ ./dbca

Global Database name: TESTCDB
Administrative
password(sys pwd): Manager#2022
Pluggable
database name: TESTPDB

Pre request check

Summary page


Finishing Installation


Comments
Post a Comment