Posts

Showing posts from January, 2023

Oracle E-Business Suite (R12.2) Installation

Image
This post is a step-by-step for Installing Oracle E-business suite R12.2.0 on Oracle Enterprise Linux 7.5 (64-bit). Pre-Installation Tasks Software Requirement ·        Oracle Virtual Box ·        Oracle Enterprise Linux 7.5 (64-bit) ·        Oracle E-Business suite R12.2 for LinuxX86-64-bit High Level Installation Steps ·        Hardware requirements. ·        Operating System pre-requisites. ·        Prepare Stage Area. ·        Install Oracle EBS R12.2 software. ·        Verify Installation Download the Oracle E-Business Suite Software Download the software from  http://edelivery.oracle.com . It comes in zip format.   NETWORKING Please add the below format foe the /etc/host file <IP address>  <hostname>.<domainname>  <hostname> HARDWARE REQUIREMENTS It is recommended to use 4GB of memory for the database and 6GB for the application (0 -10 users). So, for a single node installation in PRODUCTION, a minimum of 10g RAM is recommended. The table below s
How to Change Weblogic User Password

Image
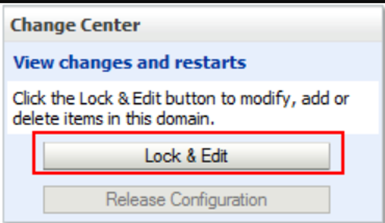
The weblogic admin user's password may need to be changed in accordance with our Origination security rule in frequently. Below steps can be used to change the weblogic admin password. Step 1: Login to oracle Weblogic server http://<server>.<domain>:<weblogic_admin_port>/console Step 2: Choose the Lock and Edit button. Step 3: Go to Security Realms -> myrealm -> User and Groups -> Weblogic Step 4: Select the Users and Groups tab and choose the ‘weblogic’ link. Step 5: Select the Passwords tab and enter the new password. Step 6: Choose the Save button. Step 7: We need to manually change the password in boot.properties (for all components) file located in below location: [applmgr@weblogiclab ~]$ locate boot.properties /apps/applmgr/12.1.0.2/product/12.1.0/client_1/dmu/ide/macros/ide-boot.properties /apps/applmgr/12.1.0.2/product/12.1.0/client_1/sqldeveloper/ide/macros/ide-boot.properties /apps/applmgr/weblogic1212/user_projects/domains/grcc_domain/servers/A

How to enable trace in User level in R12.2

Image
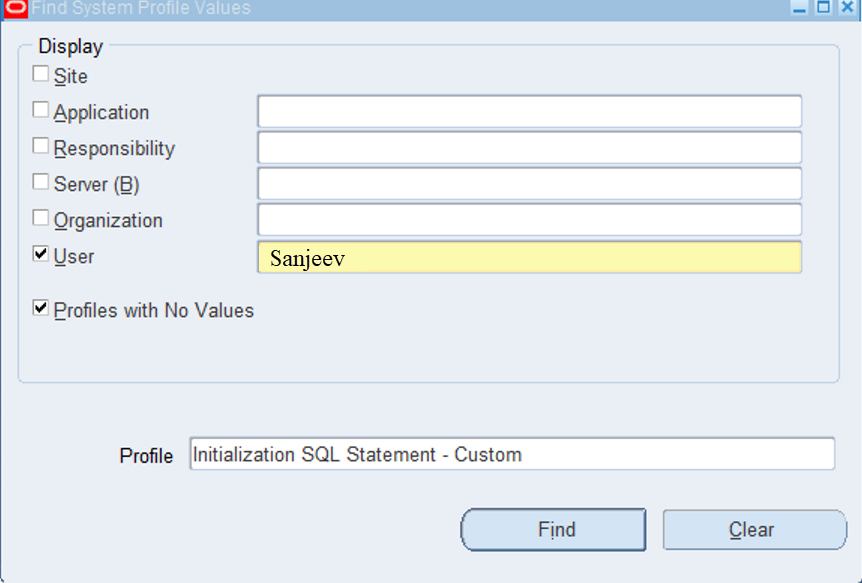
Step 1: Go to system administrator à Profile à system Enter username and Profile Option “ Initialization SQL Statement – Custom ” and search Step 2: Just replace the User for below command and paste the command   Begin fnd_ctl.fnd_sess_ctl('','','TRUE','TRUE','LOG','ALTER SESSION SET TRACEFILE_IDENTIFIER='||'''' ||<Username>|| ''''||' EVENTS='||''''||'10046 TRACE NAME CONTEXT FOREVER, LEVEL 12'||'''');End;   Example: Begin fnd_ctl.fnd_sess_ctl('','','TRUE','TRUE','LOG','ALTER SESSION SET TRACEFILE_IDENTIFIER='||''''|| Sanjeev ||''''||' EVENTS='||''''||'10046 TRACE NAME CONTEXT FOREVER, LEVEL 12'||'''');End; Trace File Location: set line 1000 SQL> select * from v$diag_info;

How to unplug and plug the PDB in 19c Database

Image
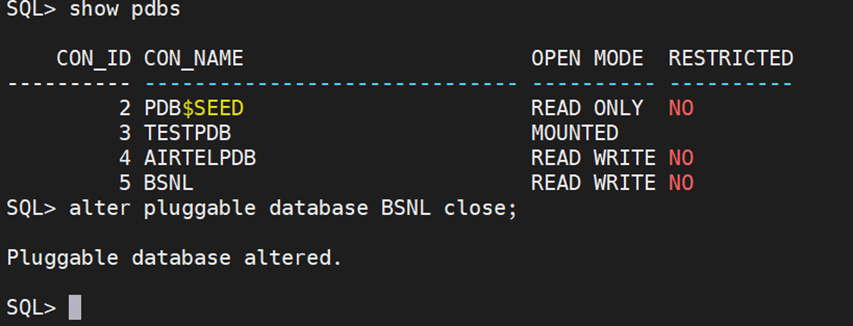
  Unplugging the PDB To unplug a PDB, you first close it and then generate an XML manifest file. The XML file contains information about the names and the full paths of the tablespaces, as well as data files of the unplugged PDB. The information will be used by the plugging operation.   SQL> alter pluggable database BSNL close;   Pluggable database altered.   Unplug the closed PDB    SQL> alter pluggable database BSNL unplug into '/home/oracle/bsnl.xml';   Pluggable database altered.   Verify the status of the unplugged PDB   SQL> select pdb_name, status from cdb_pdbs where pdb_name in ('BSNL');   PDB_NAME -------------------------------------------------------------------------------- STATUS ---------- BSNL UNPLUGGED Plugging the PDB SQL> create pluggable database "BSNL" using '/home/oracle/bsnl.xml' nocopy tempfile reuse;   Pluggable database created.     Verify the status of t